Users
Use the Users section to add new and manage existing users in the CRM. With the appropriate permissions, in this section you can:
Manually add a new user profile.
Edit existing user profile (i.e., moving the profile to different departments or changing its role) or delete the user profile completely.
Change passwords for users.
Export user list in CSV format.
Log in as one of the users.
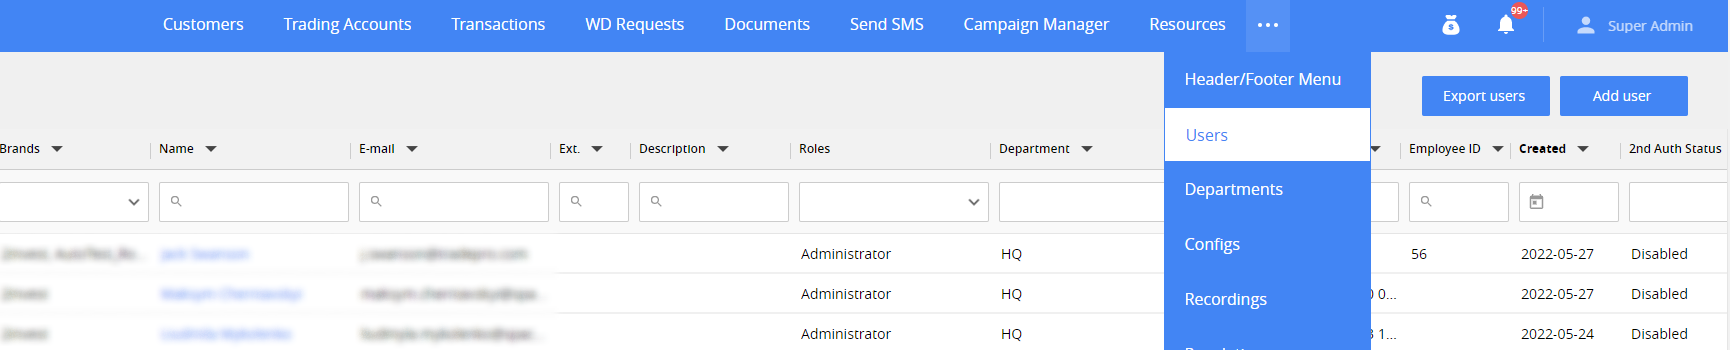
To open Users section, click on “Users” in the tab bar or, if you can’t find it on the tab bar, click on the button with three dots, and select “Users” from the menu.
Permission: Users > Access to Users.
User Grid
When you open the Users section, you will see the list of existing CRM users, also called User Grid.
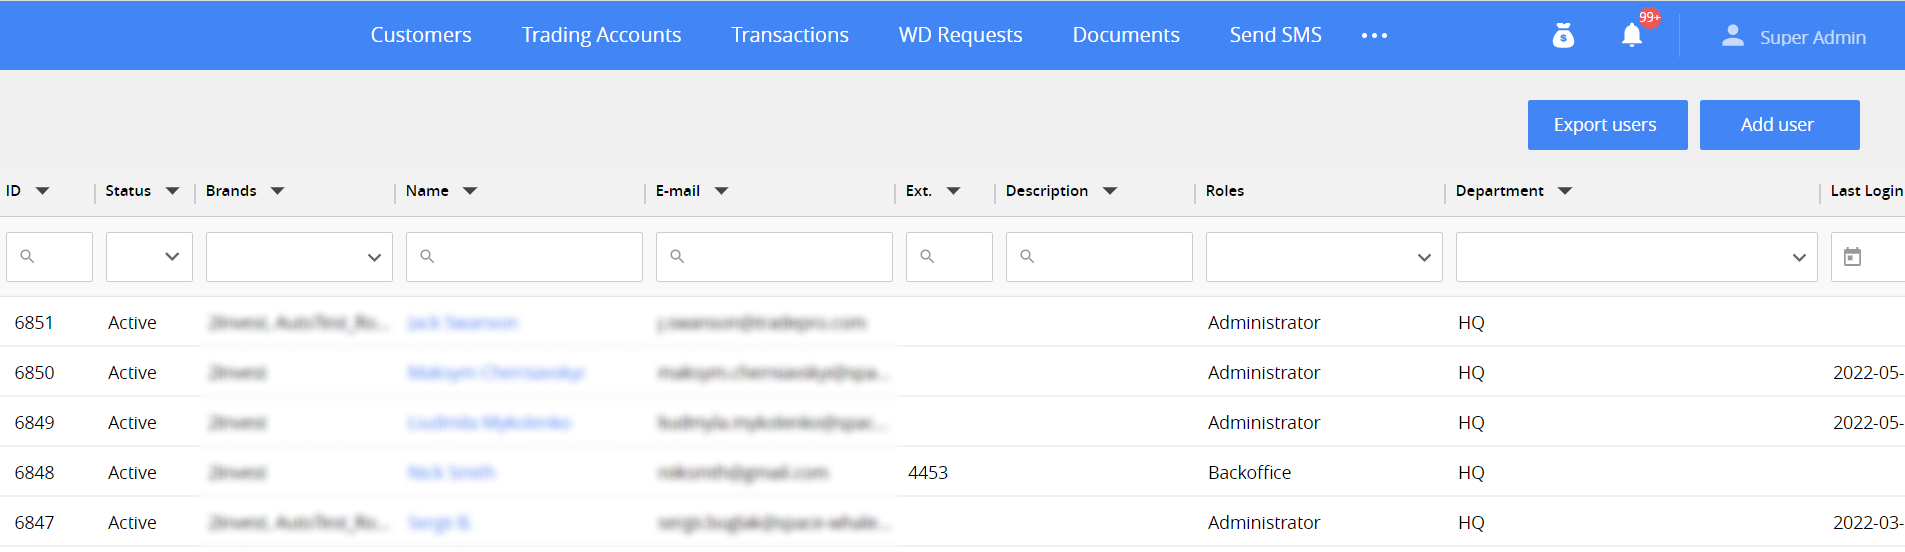
To find user account you need, use filtering and sorting tools at the top of the grid.
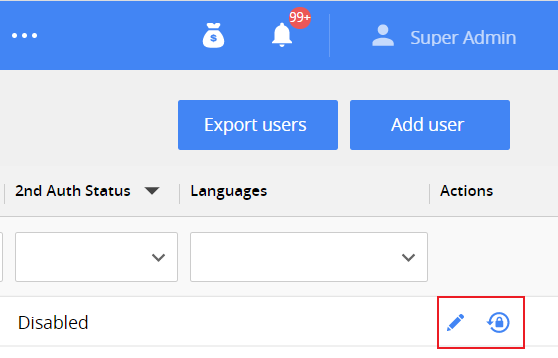
Each row in user grid is dedicated to individual user account, each column in the row containing user account attributes, like Name, Email, etc., from user’s card. To find the user accounts you need, filter and sort the data using the tools at the top. To see detailed info about any particular user or edit it, click ![]() on the right of the user account row go to their User Card to edit it. To change user password going to their user card, click
on the right of the user account row go to their User Card to edit it. To change user password going to their user card, click ![]() on the right of the user account row.
on the right of the user account row.
You can change the number of users displayed on one page and switch between pages by using the controls at the bottom right of user grid.
![]()
Note. In some cases, user grid can be too wide for some monitors. Please side scroll if you can’t find the columns or buttons you are searching for.
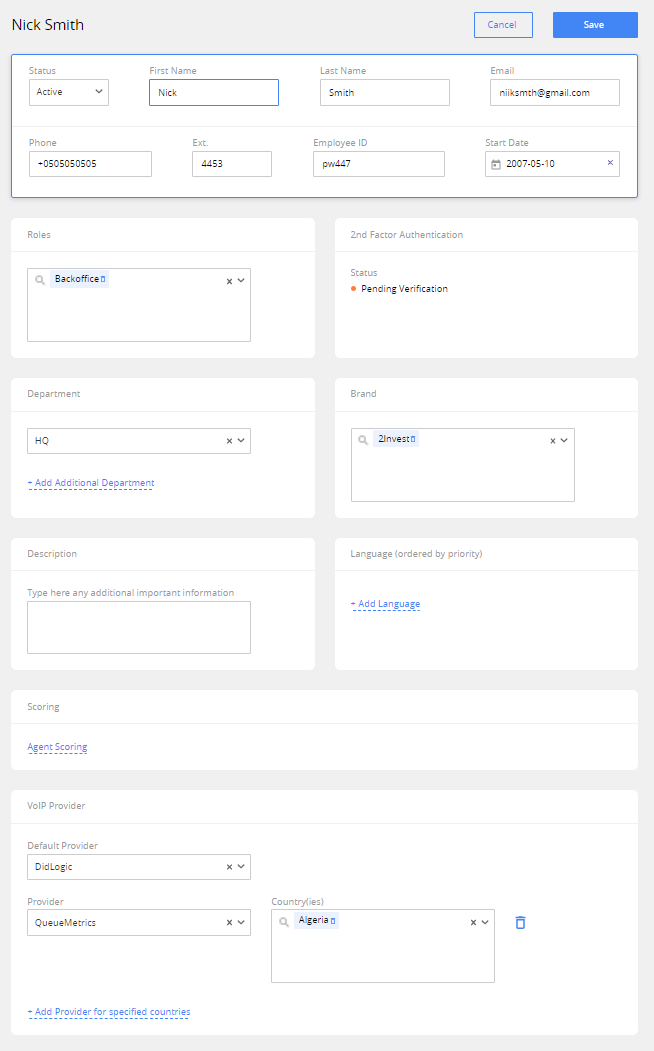
User Card
Click the name of the user in the grid to open the user card.

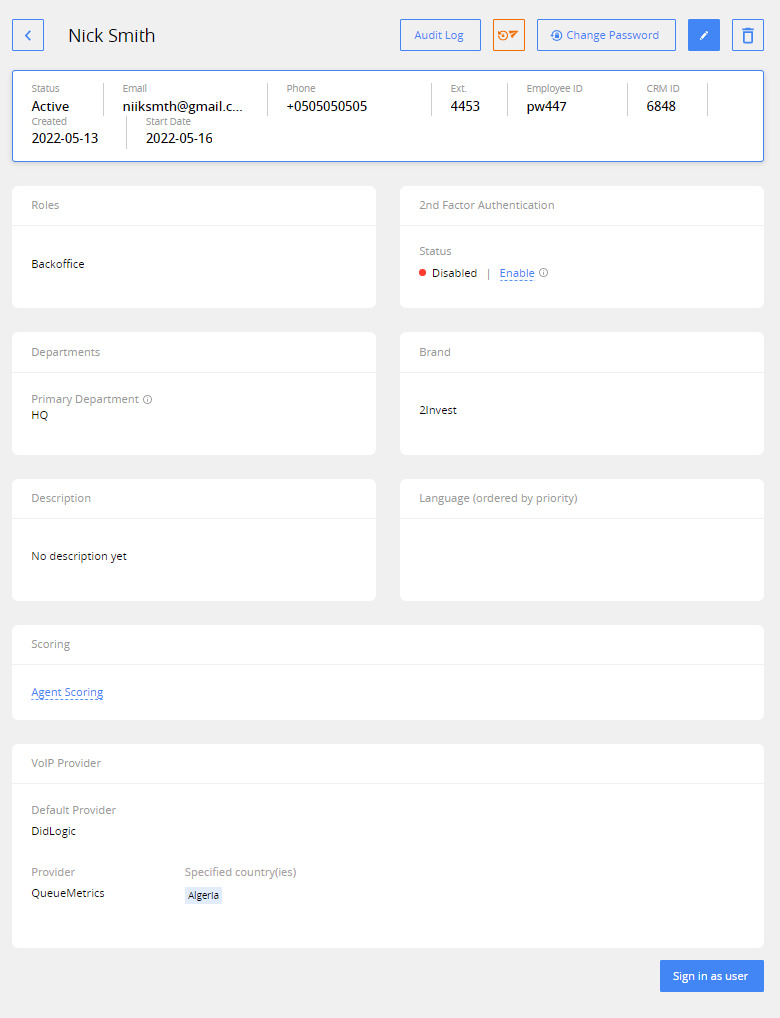
User card contains all the info for their account, including the data from their user grid row, such as:
Status. Can be set to Active or Inactive. In case the status set to Inactive, the user will not be able to log in to the CRM, until the status is changed to Active. User status changes do not affect other user profile settings.
First Name. Required.
Last Name. Required.
E-mail. Mailbox address of the user. Also used as a login to the CRM. Required.
Phone. Phone number of the user.
Ext. External ID of the user. Used in case the user has another account in third-party system the brand uses, like a support system.
Employee ID. Internal id of the employee within the brand.
Password. The generated variant is already in the field – you can change it if you want to, as long as it is within the CRM requirements. Required.
Start date. The date when user started to work with CRM. Set to the date, when the user account was created by default, but can be changed.
Permission. Users>Edit Start date field.
Roles. The role the user account is in – administrator, QA, agent, etc. Roles define which permissions the user has and which sections of the CRM they have they have access to. See Roles and Permissions for more information. Required.
Department. Which department the user is in. Department-wide settings will apply to user account. One user can be in multiple departments simultaneously.
Brands. The brands the user account has access to. Required.
Description. Any additional information about the user, if needed.
Agent Scoring. Functionality is obsolete and moved to Customer Splitter section.
Language. Functionality is obsolete and moved to Customer Splitter section.
VoIP provider. Functionality is obsolete and moved to Customer Splitter section.
You can also access to the following actions for user account in their user card:
Access account history in Audit log. See Audit Log for more info.
Request user to reset their account password. See Reset Password for more info.
Change account password for account independently. See Change Password for more info.
Edit account. See Edit User Account for more info.
Delete account. See Delete User Account for more info.
Sign in as the user in the card. See Sign in as User for more info.
Add a user
To create a new user in the CRM, click Add User in the top right corner of the user grid.
In the opened window fill the fields with the user account info. See User Card for detailed field descriptions.
Once you are done, click Add at the top right of the window. The new user will be created, with a unique ID, you will be redirected to users grid, and the newly added user will be at the top of the list.
Permissions: Users>Create and Edit User.
Edit a user
You can start editing user’s account in one of two ways:
- Click
 button at the top right of the user card.

- Or click
 button on the right of the user account row in the user grid.

Permissions: Users > Create and Edit User.
A window will appear, where you can edit all the account data. See User Card for detailed field descriptions.
After you are done editing, click Save at the top right. If everything is OK, user account will be updated with the new data. You will see “User edited successfully” window.*
*
Change user password
You can start to change password in one of two ways:
Click on Change Password button at the top right of the user card.

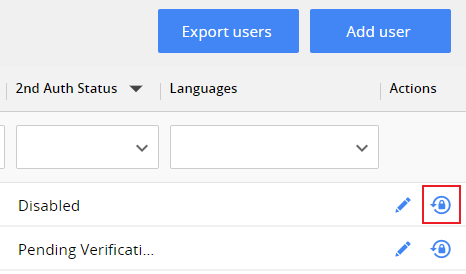
Or click on ![]() button on the right of the user account row in user grid.
button on the right of the user account row in user grid.
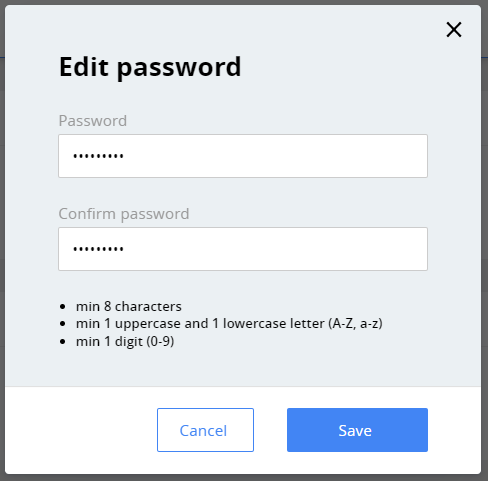
The Edit password window will open with the fields to enter a new password.
The new password is checked against meeting the criteria, written below the Confirm password field, and is saved for the user account only in case they are all met.
Click Save to update the password for the user account. A new password will be used when the user logins into the CRM after the password changes.
Note: If the user is logged in with the old password, a password change will not log him out of the CRM. They will be asked to enter the new password on the next login.
Permissions**:** Users > Change Password.
Reset user password
To initiate password reset procedure for user account, click ![]() button at the top of the user’s card.
button at the top of the user’s card.

After the click this user will be enforced to update their password next time they login to the CRM and button will change color to orange.
![]()
Now, the next time this user will log in to the CRM, they will see Reset Password window. Reset password window can’t be closed by user without resetting their password. In this window they will need to enter their old and new password, confirm the new password and click Save to set the new password for their account.
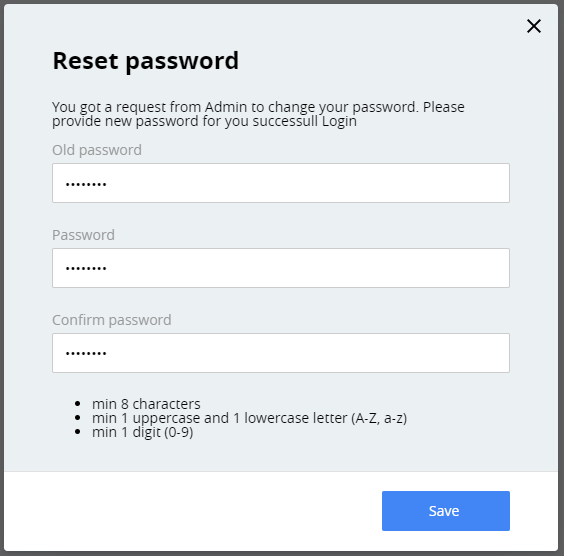
In case the new password complies with password requirements, the user will be redirected to CRM login screen, where they can log in with the new password.
You can check the status of password reset request in the user’s card – if the user has already reset the password, the reset password button will change color back to blue. Place your cursor over the button to see a popup with date and time the user has reset their password.

Delete a user
To delete the user account , click on![]() button at the top right of the user card and confirm it in Delete User window.
button at the top right of the user card and confirm it in Delete User window.

After you delete the user account, you will be taken to user grid.
Note. Deleting the user account will erase all the data about it, and should be used in special cases. If you simply want to prevent the user from using their account, we suggest you to use Status>Inactive in their user card. In this case, all the user account data and history will be saved.
Two-factor authentication
Switch two-factor authentication for the user in this user card area.

If you are switching the setting from Disabled to Enabled, status will change to Pending Verification, and the user will need to go through the new authentication method set up upon their next login. CRM uses Google Authenticator app for two-factor authentication.
Note. If the user is logged in with two-factor authentication disabled, its change will not log them out of the CRM – they will be asked to use the new authentication method during the next login.
Sign in as User
Log in as the user from the user card by clicking Sign in as User at the bottom right of the User card. After you click it, you will relog into the CRM as the user of your choice. You can check if you logged in successfully by checking the name of your current user in the top bar of the CRM.
This action will be visible in User account audit log in the following format.

Permissions: Users > Sign in As.
deAudit Log
Check user account history by clicking on the Audit Log button at the top right of the user card.
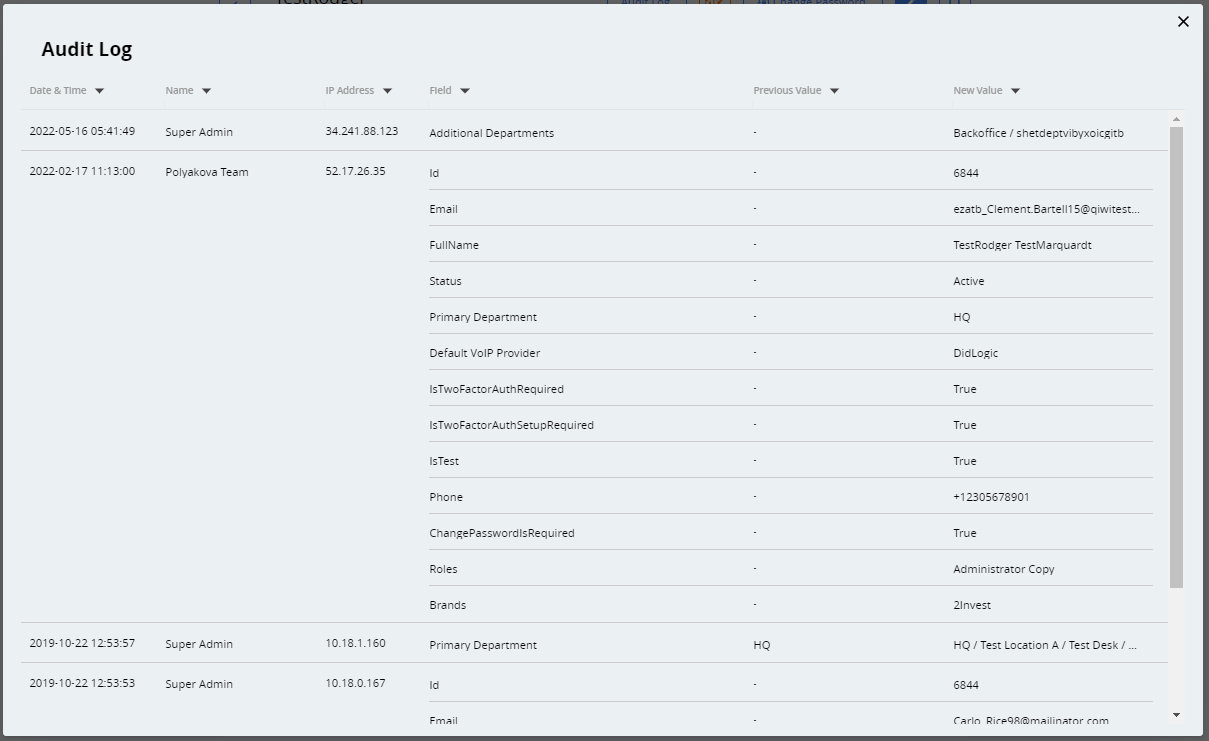
Here you can see the list of changes in the user’s full profile and actions, such as assigning the user to user group or password change. The records in the log are displayed starting from the latest ones.
Note. In the Audit log, you will see only the changes of the fields you have permission to.
The information is divided into columns:
Date and time of change (user local time is used).
Name of the user who performed the change, and their IP address.
Name of the changed field or action performed.
Previous and current values of the field.
Here are some examples of tracked events in the Audit log:
Full profile info (name, mail, etc.).
Change or reset the password.
Change of the user group (lead to client and client to depositor).
Log in date and time.
Export Users
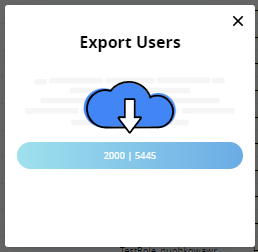
You can export the user entries from your user grid by clicking Export Users from the top right of user grid.
After confirming your choice, you will see the export progress.

After the system prepares the file, it should automatically download to your computer. If not, click the text the export result window suggests to you**.**
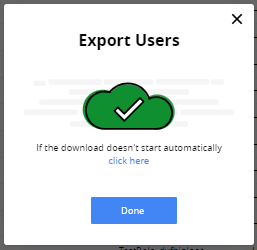
Export file is in CSV format, and contains a list of users, as you’ve filtered and sorted it.
Note. If you have a lot of user profiles (>500), their export will take some time. If there is no feedback after you click on Export Users button, wait around 10 seconds, and try again in case it still will not respond.