Import leads from Excel file
If you work with the external lead database, you can import the lead dataset from an Excel spreadsheet to the Fintech360 system. You can only import the “lead” customer type.
Permissions: Customers > Leads import.
To import data:
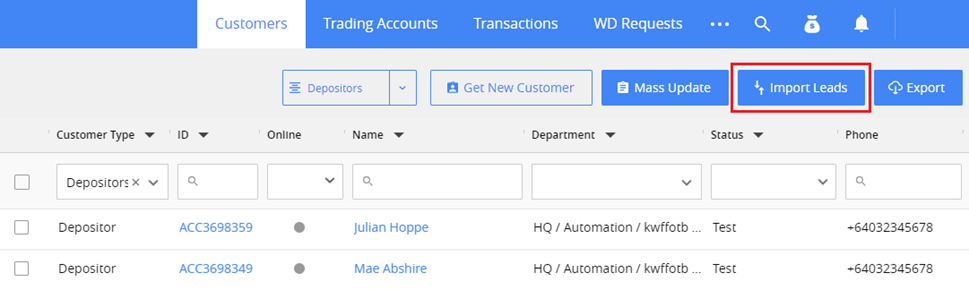
- Click Import Leads.
- The Import Wizard will be opened. Here you can find the hint on how to prepare the file. You can also download a template and fill it in with data.
Prepare the imported file in the *.csv format.
::: note
Note. Make sure columns Phone, Email and Country are filled in the file. Leads without one of these values will be ignored during the import.
:::
1. Select file
In this step, you can upload your file to the system: Click Select file > Find your file and click Open. The file will be uploaded. Go to the next step.
2. Map field
In this step, match the Excel file columns to the fields in CRM:
• If the column name in the file corresponds to the name of the CRM column, it will be mapped automatically. • If the column name in the file differs from the CRM column name, you need to map that column manually. To do this, click the dropdown list and select the column from the list of your CSV file columns.
Note: Mail, Phone, and Country fields must be matched to proceed with the import.
One CRM column can be matched only to one CSV column, and matched columns are disabled in the dropdown list.
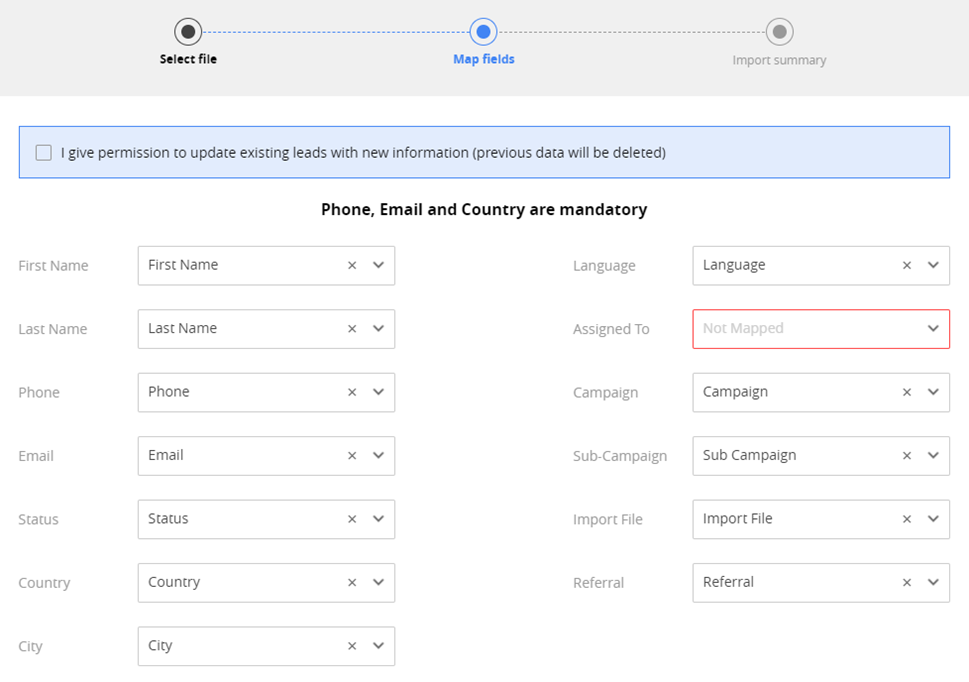
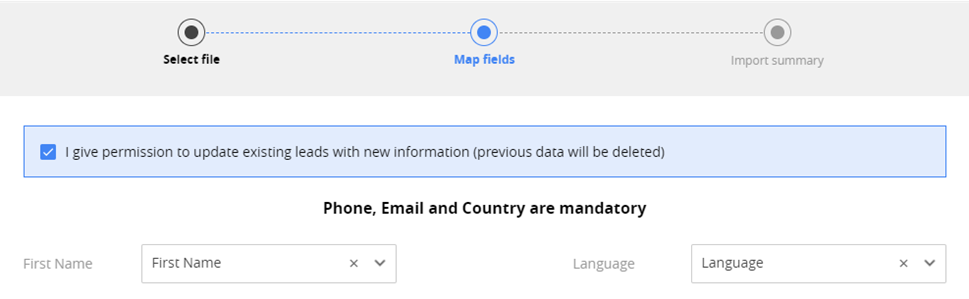
If you need to update your existing leads with the data in the file, select I give permission to update existing leads. The record to be updated is determined by the email:
• If you select the checkbox, all leads in CRM with the matching email address will be updated with data from the file.
• If you do not select the checkbox, leads with the matching email addresses will be ignored and considered duplicates.
Permissions: to update existing leads, you must have the Update on Import permission.
Also, in this step, you can overwrite values from the file with a specific value. To do this, fill in the data in the Custom options area.
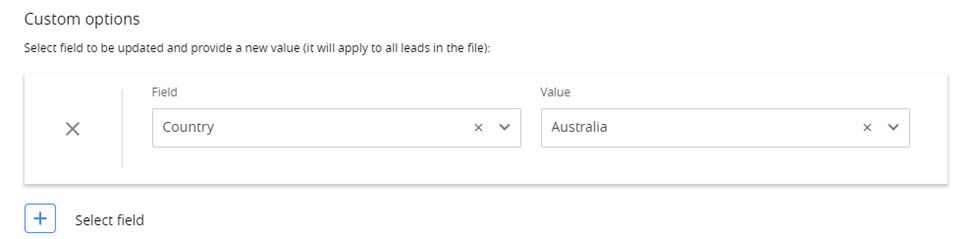
The values you enter in these fields take priority over the file data. For example, if you add “Country=Australia,” then Australia will be set as a country for all the imported leads, regardless of the values specified in the file.
Note: The dropdown list contains only fields presented in your CSV file.
When you click Next Step, the system will start to import data.
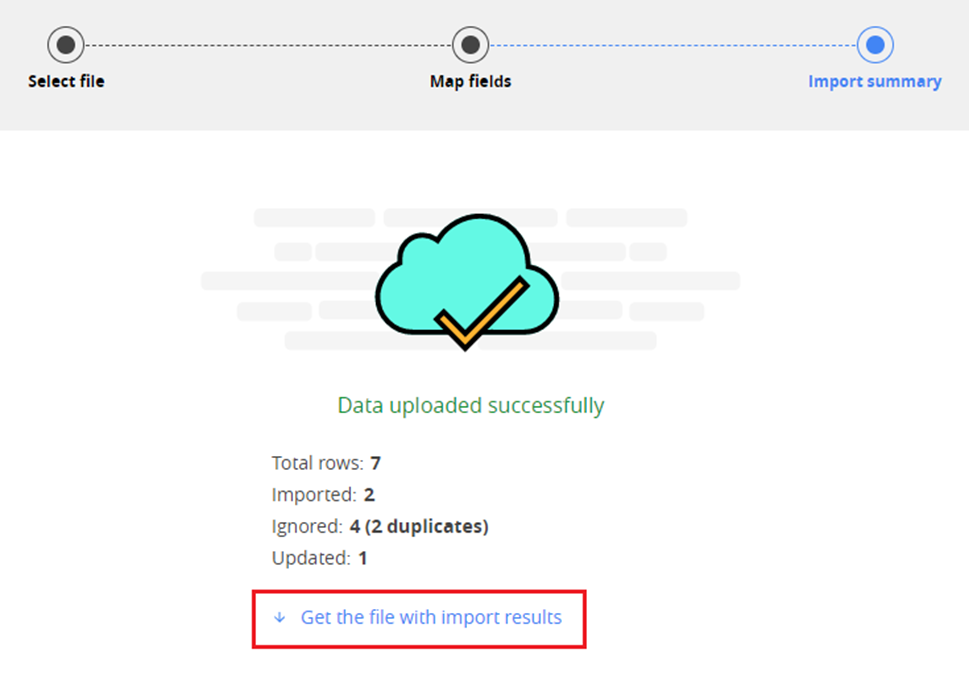
3. Import summary
When you get to this step, your leads will already be imported.
You can see here the results of the import:
• total number of rows in the file. • number of leads imported, i.e., leads that were created. • number of leads ignored, i.e., leads that weren’t created. • number of leads updated, in case you select the corresponding checkbox in the previous step.
To get more details about each row, click Get the file with import results.
In the file downloaded, use the Import result column to see the status of each row: • **Imported:**the lead was successfully created filled with all the data specified in the CSV file. • Partially imported: the lead was successfully created, but some fields weren’t filled with the CSV file data. It may be if the value in the file doesn’t correspond to the type of the CRM field or if the connected CRM record wasn’t found. You can see the details in the “Error” column. • Duplicate: the lead wasn’t created because the record already exists. Duplicates are checked by the Email and Phone columns. If the specified email address or phone is associated with the existing customer in CRM, the record will be considered a duplicate. You can see the details in the “Error” column
Note: If the I give permission to update existing leads checkbox is set in the previous step, existing records may be updated with the current data. In this case, you will see the “Partially updated” import result.
• Ignored: the lead wasn’t created because some of the required fields weren’t filled. The required fields are Email, Phone, and Country. You can see the details in the “Error” column. • Partially updated: the lead wasn’t created, but some of the existing leads were updated with the values specified in the CSV file. This case is only possible if the I give permission to update existing leads checkbox is set in the previous step. The required record to update is determined by the Email column.
Note. To see the full error text, you may need to change the width of the “Error” column in the file downloaded.